Recipes: Navigation
원문: Bloc / Recipes / Flutter / Navigation
한국어로 번역은 진행중입니다.
In this recipe, we’re going to take a look at how to use
BlocBuilderand/orBlocListenerto do navigation. We’re going to explore two approaches: Direct Navigation and Route Navigation.
Direct Navigation
In this example, we’re going to take a look at how to use
BlocBuilderto show a specific page (widget) in response to a state change in a bloc without the use of a route.
Bloc
Let’s build MyBloc which will take MyEvents and convert them into MyStates.
MyEvent
For simplicity, our MyBloc will only respond to a two MyEvents: eventA and eventB.
enum MyEvent { eventA, eventB }
MyState
Our MyBloc can have one of two different DataStates:
StateA- the state of the bloc whenPageAis rendered.StateB- the state of the bloc whenPageBis rendered.
abstract class MyState {}

class StateA extends MyState {}

class StateB extends MyState {}
MyBloc
Our MyBloc should look something like this:
import 'package:bloc/bloc.dart';

class MyBloc extends Bloc<MyEvent, MyState> {
  @override
  MyState get initialState => StateA();

  @override
  Stream<MyState> mapEventToState(MyEvent event) async* {
    switch (event) {
      case MyEvent.eventA:
        yield StateA();
        break;
      case MyEvent.eventB:
        yield StateB();
        break;
    }
  }
}
UI Layer
Now let’s take a look at how to hook up our MyBloc to a widget and show a different page based on the bloc state.
import 'package:flutter/material.dart';
import 'package:flutter_bloc/flutter_bloc.dart';
void main() => runApp(MyApp());
class MyApp extends StatefulWidget {
@override
State<MyApp> createState() => _MyAppState();
}
class _MyAppState extends State<MyApp> {
MyBloc _myBloc = MyBloc();
@override
Widget build(BuildContext context) {
return BlocProvider<MyBloc>(
bloc: _myBloc,
child: MaterialApp(
home: BlocBuilder<MyEvent, MyState>(
bloc: _myBloc,
builder: (BuildContext context, MyState state) {
if (state is StateA) {
return PageA();
}
if (state is StateB) {
return PageB();
}
},
),
),
);
}
@override
void dispose() {
_myBloc.dispose();
super.dispose();
}
}
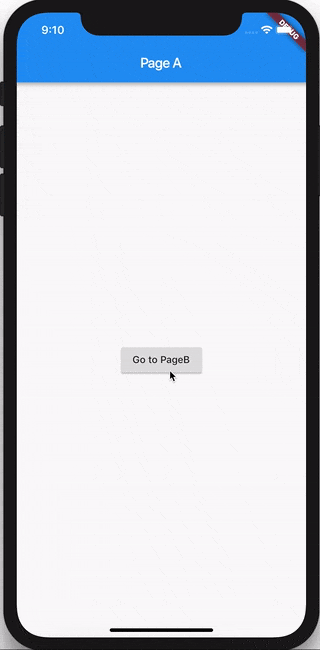
class PageA extends StatelessWidget {
@override
Widget build(BuildContext context) {
return Scaffold(
appBar: AppBar(
title: Text('Page A'),
),
body: Center(
child: RaisedButton(
child: Text('Go to PageB'),
onPressed: () {
BlocProvider.of<MyBloc>(context).dispatch(MyEvent.eventB);
},
),
),
);
}
}
class PageB extends StatelessWidget {
@override
Widget build(BuildContext context) {
return Scaffold(
appBar: AppBar(
title: Text('Page B'),
),
body: Center(
child: RaisedButton(
child: Text('Go to PageA'),
onPressed: () {
BlocProvider.of<MyBloc>(context).dispatch(MyEvent.eventA);
},
),
),
);
}
}
We use the BlocBuilder widget in order to render the correct widget in response to state changes in our MyBloc.
We use the BlocProvider widget in order to make our instance of MyBloc available to the entire widget tree.
The full source for this recipe can be found here.
Route Navigation
In this example, we’re going to take a look at how to use
BlocListenerto navigate to a specific page (widget) in response to a state change in a bloc using a route.
Bloc
We’re going to reuse the same MyBloc from the previous example.
UI Layer
Let’s take a look at how to route to a different page based on the state of MyBloc.
import 'package:flutter/material.dart';
import 'package:flutter_bloc/flutter_bloc.dart';

void main() => runApp(MyApp());

class MyApp extends StatefulWidget {
  @override
  State<MyApp> createState() => _MyAppState();
}

class _MyAppState extends State<MyApp> {
  MyBloc _myBloc = MyBloc();

  @override
  Widget build(BuildContext context) {
    return BlocProvider<MyBloc>(
      bloc: _myBloc,
      child: MaterialApp(
        routes: {
          '/': (context) => PageA(),
          '/pageB': (context) => PageB(),
        },
        initialRoute: '/',
      ),
    );
  }

  @override
  void dispose() {
    _myBloc.dispose();
    super.dispose();
  }
}

class PageA extends StatelessWidget {
  @override
  Widget build(BuildContext context) {
    return BlocListener(
      bloc: BlocProvider.of<MyBloc>(context),
      listener: (BuildContext context, MyState state) {
        if (state is StateB) {
          Navigator.of(context).pushNamed('/pageB');
        }
      },
      child: Scaffold(
        appBar: AppBar(
          title: Text('Page A'),
        ),
        body: Center(
          child: RaisedButton(
            child: Text('Go to PageB'),
            onPressed: () {
              BlocProvider.of<MyBloc>(context).dispatch(MyEvent.eventB);
            },
          ),
        ),
      ),
    );
  }
}

class PageB extends StatelessWidget {
  @override
  Widget build(BuildContext context) {
    return Scaffold(
      appBar: AppBar(
        title: Text('Page B'),
      ),
      body: Center(
        child: RaisedButton(
          child: Text('Pop'),
          onPressed: () {
            Navigator.of(context).pop();
          },
        ),
      ),
    );
  }
}
We use the BlocListener widget in order to push a new route in response to state changes in our MyBloc.
For the sake of this example we are dispatching an event just for navigation. In a real application, you should not create explicit navigation events. If there is no “business logic” necessary in order to trigger navigation you should always directly navigate in response to user input (in the onPressed callback, etc…). Only navigate in response to state changes if some “business logic” is required in order to determine where to navigate.
The full source for this recipe can be found here.
이전: Show SnackBar
다음: IntelliJ